Welcome to my very first blog hop! Since I am a Fourth Grade teacher, I thought it would be fun to do this Back To School Blog Hop hosted by Michelle at Queen of my Craftroom. Both of my projects are for my classroom, but can be adapted to any child that is going back to school.
You should have come from
Andrea's Coffee Time. If you would like to start at the beginning of the hop, then head over to
Queen of my Craftroom and join in the fun! We have 3 sponsors: Karbar Digital Stamps, Jen's Digi Stamps, and Hambo Stamps. Each sponsor is giving away a digi stamp. There will also be blog candy along the way, so sit back and enjoy all the creative ideas that these talented ladies are sharing!
My project for today's is a class set of bookmarks. My theme for my classroom this year is Hollywood: Lights, Camera, Action!.
I made these personalized bookmarks by using the George and Basic Shapes cartridge. Using my Gypsy, I welded a 1 3/4 x 5 1/2 rectangle and star together in black cardstock. I added another rectangle cut at 5 3/4 x 1 1/2 out of red cardstock. (To save time, I just used my paper trimmer to cut these out.) I added the 3 x 2 3/4 yellow star to the top of the bookmark. I used the Cindy Loo cartridge to add the words You're a star! The letters were 3/4 inches in height. Again, I used my Gypsy to weld the letters together. I used my while jelly pen to add dots to the phrase and personalized the stars using a black gel pen for my students' names. Lastly, I trimmed the star with gold stickles. Once I'm back to school I will laminate these and hand them out the first day of school.
There are so many ways you could do different bookmarks for you own child. Throughout the school year I will make more bookmarks using seasonal cartridges, Locker Talk, and my favorite cartridge, Create a Critter just by changing out the star topper. Be sure to check back tomorrow to see my next project! Now, hop on over to
Kimberly's Crafty Spot.
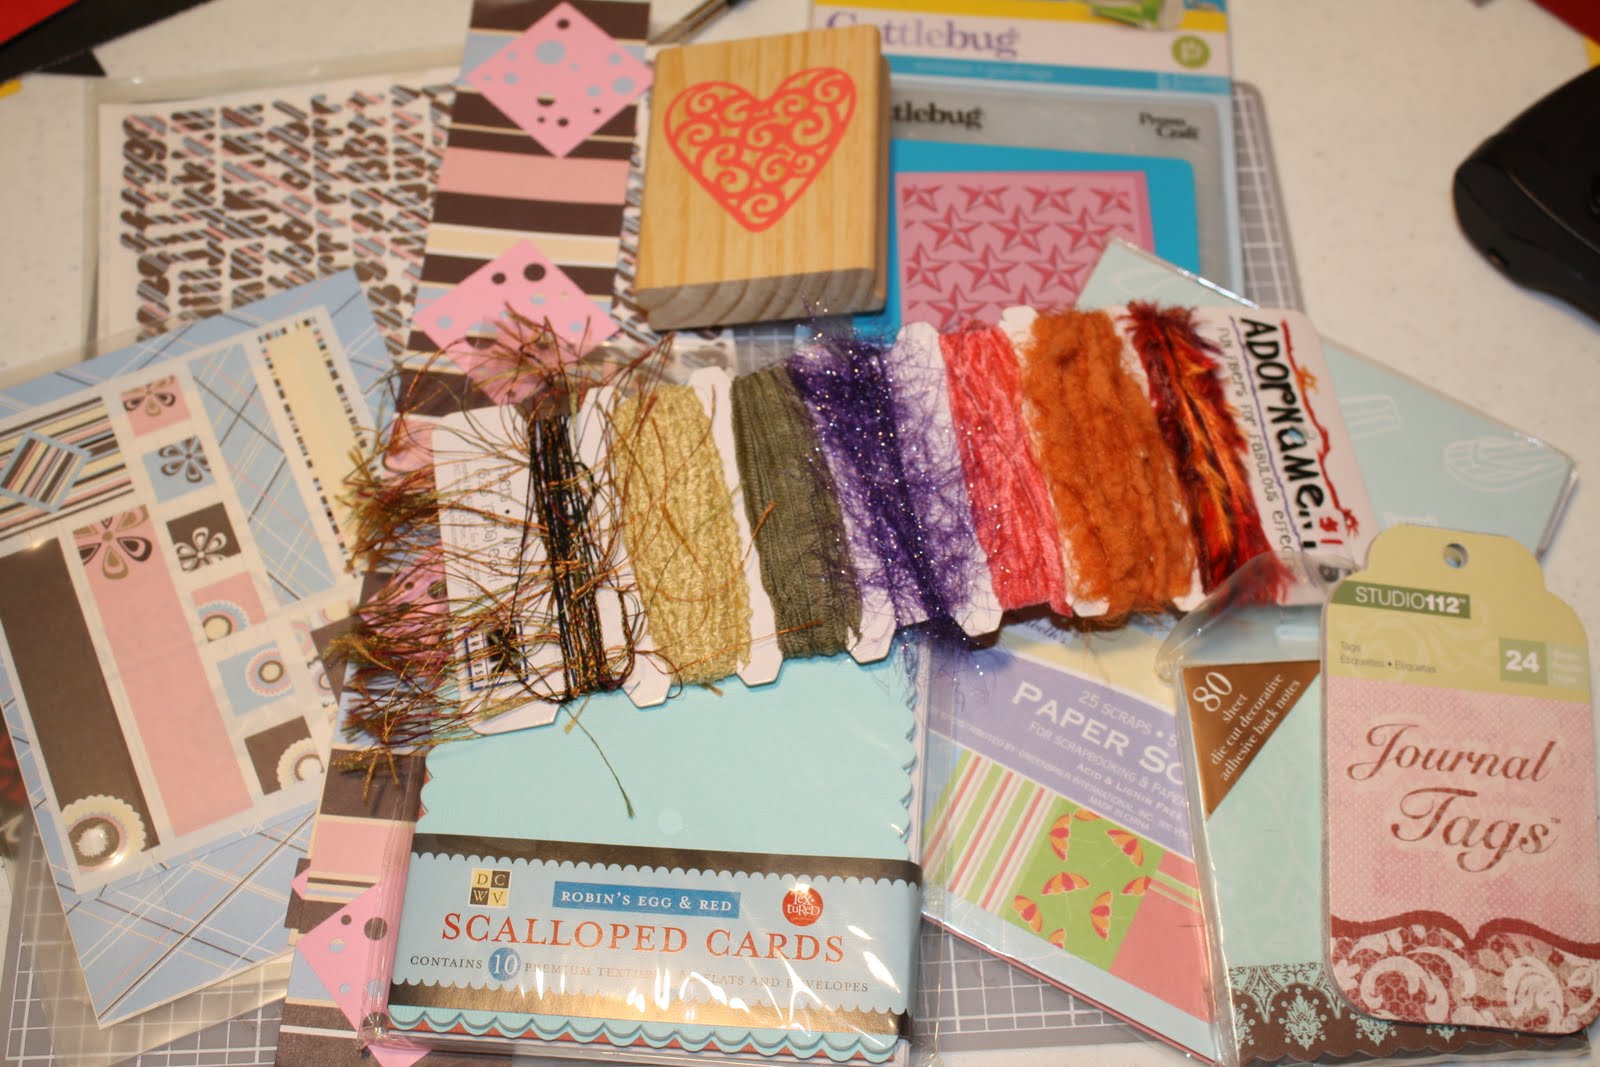
I will be giving one lucky person some crafting goodies! Included are 2 alphabet label stickers, journal tags, decorative sticky notes, fun fibers, beach themed paper stack, a set of scalloped cards with envelopes, a heart stamp, a Star Cuttlebug folder and a Creative Memories Mini Parfait set. All you have to do is leave a comment on both of my posts for this blog hop (Saturday and Sunday). I will use Random.org to select a winner on Sunday August 7. You do not have to follow my blog, but I encourage you to browse my blog and if you like what you see, I would be happy to have you as a follower! Thanks for stopping by!
Back to School Blog Hop Line Up:


